Why a Pencil Leaves More Than One Kind of Line
Learn how pencil pressure, angle, and point shape alter a mark so you can choose lines that describe an object more clearly as you draw.
Why does a pencil line look dark and blunt in one place, then pale and fine a moment later? Pencil marks change with pressure, angle, and point shape. Notice those changes and you can make a drawing respond to what you see, without committing to a particular style.
Pressure changes the mark
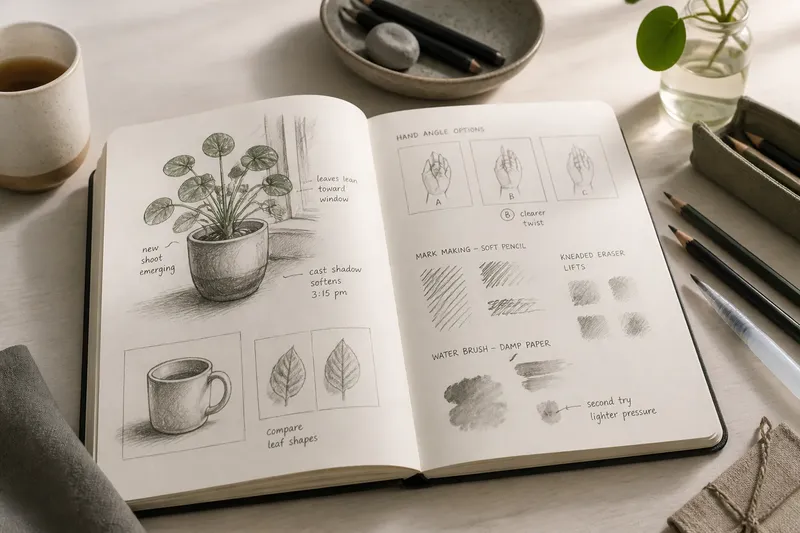
Hold the same pencil over a scrap of paper and draw a few strokes, beginning with a light touch and gradually pressing harder. The light strokes may look gray and airy; firmer ones usually appear darker and more definite. Pressure also affects the paper: a heavy stroke can leave a groove that remains visible even if you erase some graphite.
That difference can help distinguish what matters in a scene. A faint line might suggest a soft fold or an edge that disappears into shadow. A darker stroke can clarify where two shapes meet. Neither is automatically better. Ask what the mark needs to say before pressing harder.
Try changing pressure within one stroke, easing off as you move. The result can taper rather than stop abruptly, which is useful for a strand of hair, a curved stem, or a contour that fades from view. Keep a light grip so your fingers can adjust without your whole hand tightening.
Use the side of a spare sheet beneath your hand if you tend to smudge fresh graphite while drawing.
Angle shifts the contact
A pencil held upright brings its point into contact with the page. It can make narrow lines and small marks, especially when the point is sharp. Tilt the pencil and more of the graphite touches the paper. That broader contact can create a wider, softer line or shade a small area more quickly.
Angle changes along with pressure, so compare them separately when you can. Make one row of strokes with the pencil upright, then another with it tilted, keeping your touch similar. Turn the page if that makes a stroke easier to draw smoothly; the pencil does not need to travel in the same direction every time.
A tilted pencil can be useful for broad shadow shapes, while an upright pencil can pick out a narrow seam or the rim of a cup. These are options, not rules. A broad mark may be exactly right for a small detail if it captures the detail’s weight or softness.
The point sets a boundary
A sharp point concentrates graphite in a small area. It tends to make clearer edges and finer marks, though the result still depends on pressure and paper. A worn or rounded point spreads contact across a broader area, so a line may look softer or thicker. You can also turn the pencil as you draw; a less-worn part of the point may meet the paper.
Sharpening is not simply a routine to perform whenever a line looks imperfect. Consider the next mark. If you need a delicate edge, a sharpener may help. If you are blocking in a shadow, a rounded point or the pencil’s side may suit the task better. A graphite stick, a mechanical pencil, and a wooden pencil each offer different shapes to work with, but no tool has to dictate the drawing.
Keep a small scrap beside your drawing and test the point there before deciding to sharpen.
What does the line tell you?
Why does my line look darker?
More pressure often makes a darker mark, but a sharper point can also concentrate graphite enough to make a line seem more distinct. Compare strokes on the same paper and adjust one variable at a time before changing your drawing.
How can I make a softer edge?
Ease your pressure, tilt the pencil, or use a rounded point to broaden contact. A softer edge can suggest a form turning away from the light, but leave it lighter only if that matches what you observe.
Should I sharpen before shading?
Not necessarily: a sharp point can shade a narrow band, while a rounded point or pencil side can cover a broader patch. Choose according to the area you want to describe, then check the result on your page.
Does the paper affect pencil lines?
Yes. A smoother surface and a more textured surface can receive graphite differently, so the same pencil movement may not look identical on both. If a mark surprises you, try it on a scrap from the same pad before changing your pressure.
Read marks in context
A useful line is not just an isolated stroke; it has neighbors. A dark edge beside a pale interior can make a boundary feel crisp. If every edge is equally dark, those distinctions may be harder to see. Let the marks vary where the object itself varies: a crisp corner, a fading curve, a shadow that broadens under a shelf.
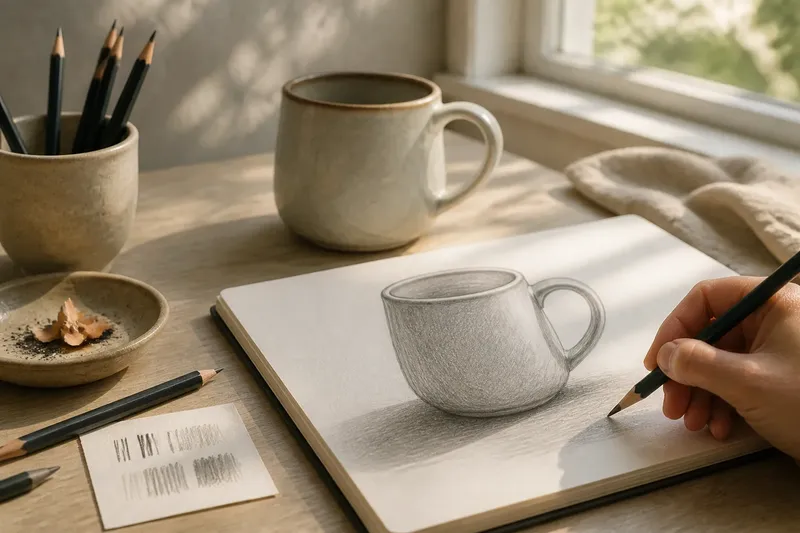
Say you are drawing a ceramic mug beside a window. You notice a clear rim on the lit side and a broad shadow beneath the handle. You keep the rim narrow with a light, upright stroke, then tilt the pencil and use a softer touch to build the shadow. The expected visible result is a finer edge beside a broader value, making the mug’s different surfaces easier to read without assigning either mark a fixed style.
Look back at the object between strokes. Is the edge sharp, soft, or partly lost? Does the shadow have a clear boundary, or does it blend into the surface? Those observations help you decide whether to press, tilt, turn, or simply leave the line alone.
Let the line stay open
There is no need to make every mark describe an outline. A cluster of light strokes can suggest a change in surface without enclosing it, while one darker line can locate a small feature. Leave some areas quiet if the subject already reads clearly; extra graphite can obscure a useful difference.
For your next drawing, keep the pencil you have and make a small choice at each edge: sharp or soft, narrow or broad, dark or faint. Pencil pressure, angle, and point shape give you several ways to respond to what is actually on the page. The line can remain a decision you make as you look.